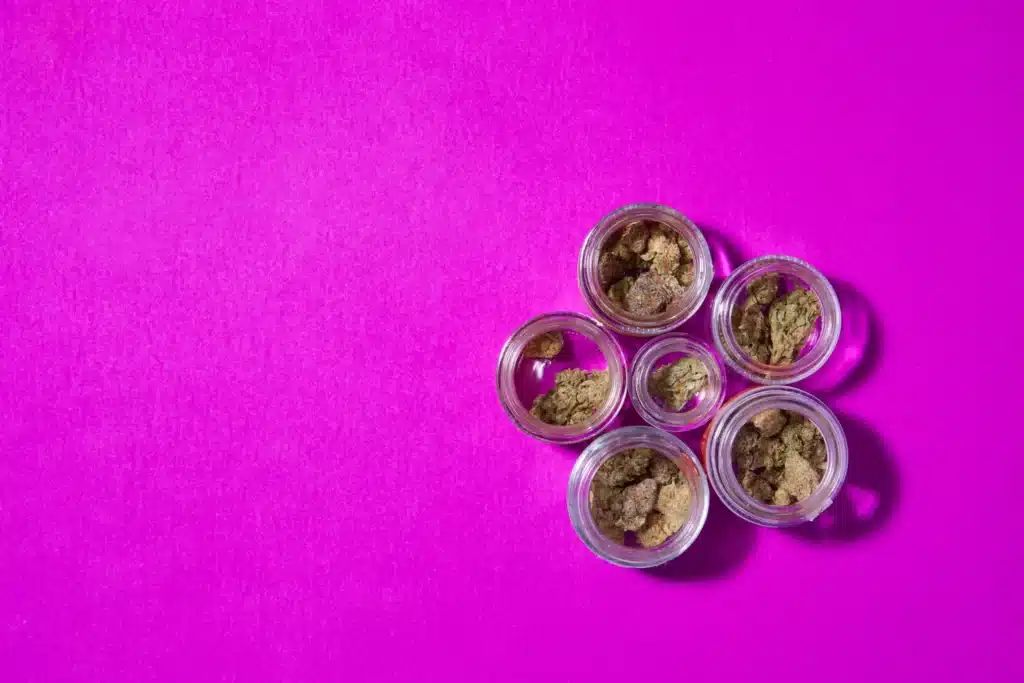
Rollin’ in the Good Times: Joint Rolling 101
There is no denying the fact that rolling a joint is an art form. It takes time, effort, and a lot of practice to perfect this craft, but once you do, the rewards are endless. From sharing a joint with your friends to enjoying a solo session, rolling a perfect joint can take your smoking experience to a whole new level. In this article, we will take you through the essential tools and techniques, step-by-step instructions, and tips and tricks to help you roll the perfect joint every time.
Puff, Puff, Pass: Essential Tools and Techniques
Before we get started with the instructions, it’s important to understand the essential tools and techniques used for rolling a joint. Here is a list of things you will need:
- Rolling papers: Choose high-quality rolling papers that are easy to work with and burn evenly.
- Filter or crutch: A filter or crutch is essential for holding the shape of the joint and making it easier to smoke.
- Herb grinder: Grinding your herb makes it easier to roll and ensures an even burn.
- Rolling tray: A rolling tray will keep your herb and rolling tools organized and prevent any spills.
- Rolling machine (optional): A rolling machine can be used to make rolling a joint easier and more efficient.
When it comes to techniques, the most important thing is to take your time and be patient. Rolling a perfect joint requires a steady hand and a gentle touch. Start with small amounts of herb and work your way up as you get more comfortable with the process.
From Paper to Puff: Step-by-Step Instructions
Now that you have all the tools and techniques in place, it’s time to roll your joint. Here is a step-by-step guide to help you get started:
- Grind your herb: Use your herb grinder to finely grind your herb. Make sure there are no stems or seeds left in the mix.
- Prepare your rolling paper: Hold your rolling paper with the gummed edge facing you. If you’re using a filter or crutch, place it at one end of the paper.
- Load your paper: Using your fingers, sprinkle the herb evenly along the length of the paper, leaving a little space at the end.
- Roll it up: Use your thumbs and forefingers to gently roll the paper back and forth to pack the herb tightly. Lick the gummed edge and stick it to the other end of the paper.
- Shape your joint: Use your fingers to shape the joint and ensure it has a nice cone shape.
- Twist the end: Twist the end of the joint to keep the herb securely in place.
Celebrate Good Times: Tips and Tricks for Perfect Rolls
Now that you have rolled your joint, it’s time to celebrate! Here are some tips and tricks to help you achieve the perfect roll:
- Practice, practice, practice: The more you practice, the better you will get at rolling the perfect joint.
- Use the right amount of herb: Don’t overfill your joint as it can make it difficult to roll and smoke.
- Don’t forget the filter: A filter or crutch can make all the difference in holding the shape of the joint and making it easier to smoke.
- Use a rolling machine: If you’re struggling to roll a joint by hand, consider using a rolling machine to help you out.
- Experiment with different rolling papers: Try different types of rolling papers to find the one that works best for you.
With these tips and tricks in mind, you will be rolling perfect joints in no time. Remember to always smoke responsibly and enjoy the good times with your friends and loved ones.
Rolling a joint is an art form that takes time, patience, and practice to perfect. With the right tools and techniques, you can roll the perfect joint every time and enjoy good times with your friends and loved ones. Whether you’re a seasoned smoker or a newbie, this guide will help you take your smoking experience to a whole new level. So grab your rolling paper, herb grinder, and rolling tray, and let’s get started on this journey of joint rolling 101.

